Showing posts with label reprographic system. Show all posts

Tuesday, December 9, 2014

Merging Images in Photoshop, Part One

One of the most common problems in digitization is how to deal with an image that is too big for your camera or scanner. The simplest solution is to photograph or scan the object in separate pieces, then merge those pieces together, however this can present its own set of problems to those unfamiliar with imaging software.

In this post I will be describing my own method for merging together images. There are many other ways to accomplish these tasks, and if you have a way that works for you, I encourage you to keep using it, but also be aware of its potential pitfalls. The main benefits of my own method are the ability to quality-check your work as you go, and make simple non-destructive edits that can be changed or reversed as needed. Also, for simplicity’s sake, I will be referring to my own Mac OS based workflow for menus and keyboard shortcuts.


Here is the whole image that we’re trying to assemble, and for whatever reason, it’s been captured in two side-by-side pieces in the standard .tiff format. It is crucially important, when capturing, to make sure there is overlap between the captures. This is going to help us check how well-aligned our merging is, so the more overlap the better.

Notice how each side is wider than half of the image

Now that we’ve got our two images, open both in Adobe Photoshop and choose whichever one you want to start working on. I usually go from left to right for simplicity’s sake, so here I will be starting on the left side of the image.

In Photoshop, select the Image drop-down file menu, and select “Canvas Size…” (or use the keyboard shortcut: option+command+C). Click on the canvas width field, and double it. In the “Anchor” field, select the leftmost column of the grid so that Photoshop knows where to put the empty space.


You should be left with an image like this:


It will end up a little wider than is necessary, but it’ll be easier to trim it down after the fact than to add more space. This will now become our “master” file. Do a “Save As” at this point and designate it as such.

Next, go to the second image that we are going to merge into the master (in this case, the right side image). The next step should be familiar to most computer users: select all of the image (command+A), and copy it to the clipboard (command+C). Then go back to the master file and use paste (command+V) to add it into the image.


If you’re paying attention, you’ll obviously notice that this new image is not in the correct position. However, by looking at the Layers panel on the right side of Photoshop you’ll see that the new image is on its own layer, resting on top of the background (if you do not see the Layers panel, select the “Window” drop-down menu and enable “Layers” there). Thus we can edit it without disturbing the original “bottom” layer.


Now, with the top layer selected, click on the “Opacity” field in the Layers panel and set it to 40%. This will make the top layer semi-transparent and allow us to line it up with the bottom layer.

Then, with the Move tool selected (V), begin moving the top layer around and trying to find where it lines up. Look for any solid shapes that are shared by both images, or where the borders intersect. Letterforms provide nice clear and easily-spottable shapes, which is why I have used them in this example, but it can be anything so long as it’s shared by both images.


We’re getting there, but it’s obviously still not right. At this point, find an area of overlap and zoom in closely. Then, with both the top layer and the move tool selected, simply “nudge” the top layer into place using the arrow keys. The arrow keys will only move the layer one pixel at a time, so obviously this is for the finest level of adjustments.

Almost...

Nailed it!

Now for the final steps! In the layers panel, set the top layer’s opacity back to 100%. Then inspect the images along the borders, making sure that it looks seamless. While checking for quality be sure to zoom in and out.


At this point you can crop the image down to its original size, and it will be ready to go. However, one important piece to remember is that layered .tiffs, in addition to simply being larger files, are also not commonly supported by web or other software. What I like to do at this point is to save the “Master” file with both layers, and then create a new version for common use. The common use version will get flattened (Layer -> Flatten Image) then do a Save As in whatever format is required such as .jpeg or .pdf. This way, if any changes need to be made, we can always go back to the Master version.

And there you have it! A nice, seamless image. In the next post in this series, I will go into more detail for dealing with other problems, such as skew and mismatched backgrounds or details.

Written by Ryland Ianelli

Tuesday, October 14, 2014

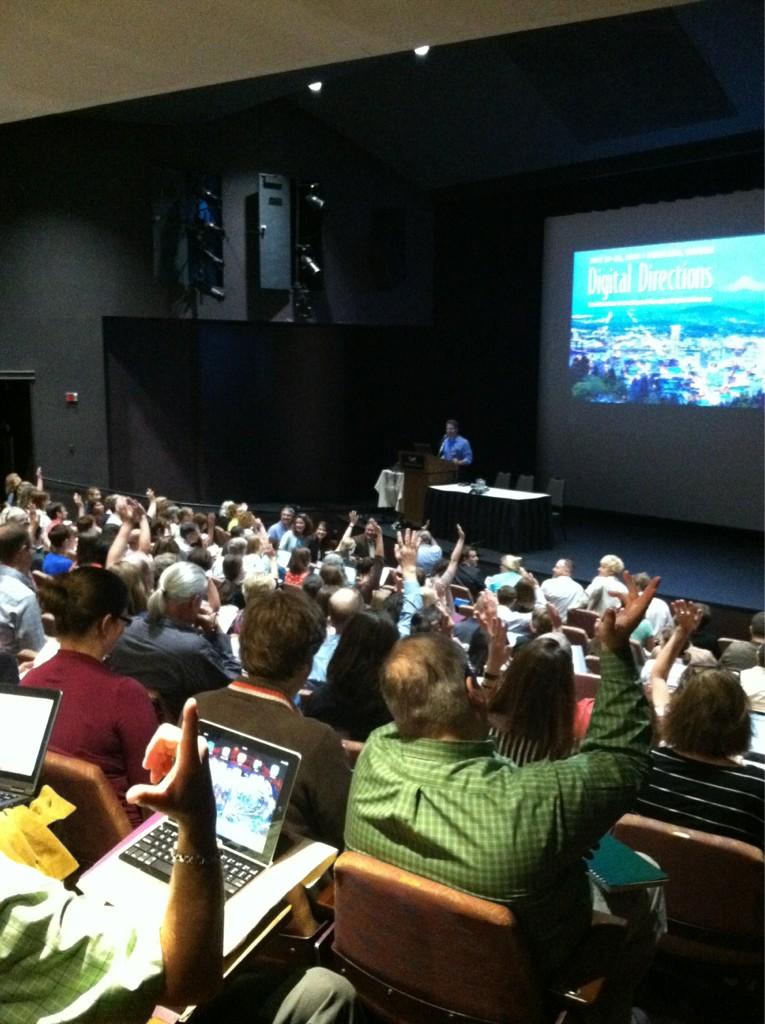
Dartmouth at the Digital Directions 2014 Conference

Image from the blog PDXretro.com

This past July I had the great opportunity to attend the Northeast Document Conservation Center’s Digital Directions 2014 conference. In a lucky turn, this year’s conference was held in Portland, Oregon, home of my alma mater, Reed College. In addition to reexperiencing the highlights of one of my favorite American cities, I was able to meet and engage with many people doing amazing work in digital collections across the country and beyond.


The conference covered a fascinating diversity of topics, from high-level project management and planning to specific examples of workflows and equipment setups. One of the first things impressed upon me was the fascinating diversity of digitization efforts occurring across the world. As the demand for digital content continues to expand, many institutions are rushing to fill that need. Because of this, it can often seem that no two institutions’ digital programs are the same, or even particularly similar.

To its credit, the Digital Directions did a phenomenal job accounting for these various setups. The three days were jam-packed with a fascinating variety of discussion topics and presentations. The first day consisted of mostly big-picture type talks. We discussed the interplay between digital preservation (maintenance of access to digital content) and digital curation (adding value to digital content), as well as how to craft each institution’s best practices and standards according to their needs. The day was wrapped up with an impressively no-nonsense discussion about rights and responsibilities from a legal perspective by Peter Hirtle, followed by a lovely meet-and-greet at the Portland Art Museum.

The following days covered a wide variety of topics, including a fascinating section about audio and video digitization (an area unfortunately outside my range of experience). However, it soon became apparent that the challenges faced by those audio and video digitization teams were remarkably similar to my own in the world of object and document reproduction. Many digitization projects face the same fundamental roadblocks: time, equipment, resources, access, and storage.
Image from NEDCC's twitter account

While the specifics varied, these fundamental issues could not help but make themselves apparent. The relative merits of, say, cloud storage (to pick a random example), can be endlessly debated among digital librarians, and indeed I’d doubt there ever will be a definitive final-word on this topic. But the crucial takeaway must be a willingness to engage with these issues, understanding the risks and drawbacks inherent in each option so that they can be minimized, or at the very least understood fully so that we may deal with them more effectively in the future. Among the many useful things I learned at Digital Directions 2014, perhaps the most important one was that my own peers are an incredible resource, both within Dartmouth and world-wide. By learning through their experiences and sharing my own, I hope to do my part to keep the Dartmouth Library’s Digital Collection growing and improving well into the future.

Written by Ryland Ianelli

Tuesday, June 24, 2014

Digital Production Unit Update, Part 2


The primary focus of the Digital Production Unit over the past few months has been to incorporate the new reprographic system into our workflows. Since we started using the new equipment in January we have been able to take advantage of its speed and high quality imaging in a number of projects. 


We have redesigned our workflow for the Dartmouth College Photographic Files collection to use the new camera exclusively. The previous workflow for this ongoing project used two scanners on two computers and required additional post production work to gather all of the images together. Our new workflow consolidates all of that work onto one workstation. The streamlined workflow has created noticeable positive effects in the time it takes to complete work on this project.

Dartmouth College Photographic Files collection: (http://libarchive.dartmouth.edu/cdm/search/collection/photofiles/collection)

One of the first projects we tackled with the new equipment was to shoot recent Winter Carnival Posters. This was a great learning opportunity for us. The posters are large and colorful and gave us a chance to develop our skills with the hardware and software. We will add individual new posters as they become available in future Winter terms. In addition, we are in the planning stages of a project to reshoot all of the posters to upgrade the quality of our master images.


We have also been able to use the equipment in support of smaller projects in Rauner Special Collections and for exhibits by Education and Outreach. Other work with the camera includes one-offs for various projects, quality assurance and corrections.


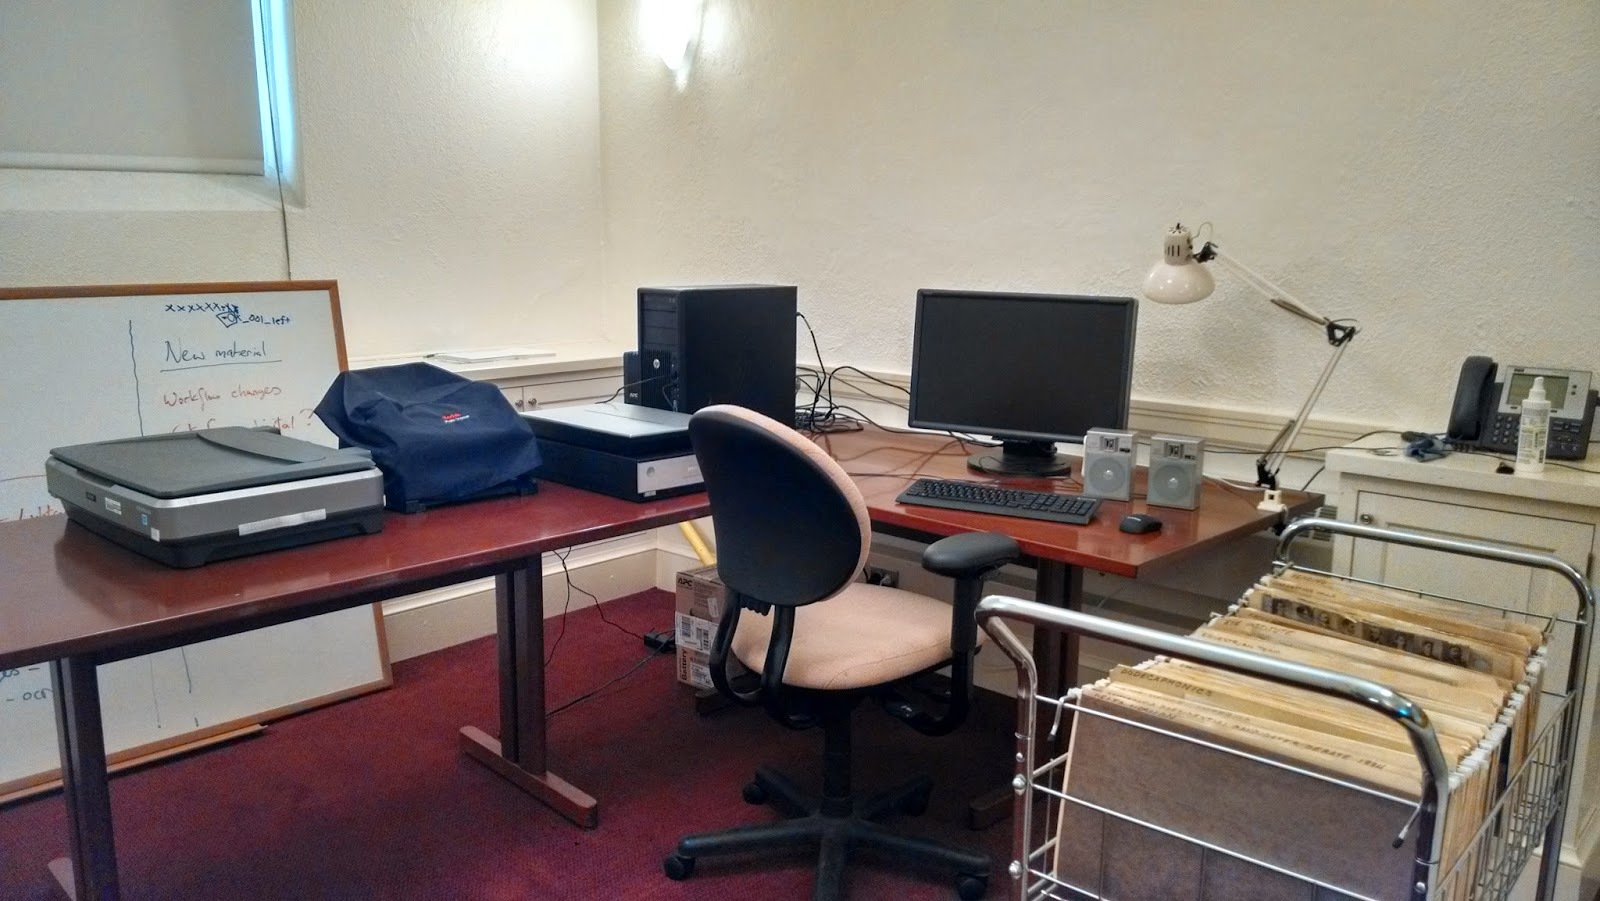
In other news, we continue to redesign our work area. We recently moved all of the scanning equipment into room 2D, turning that space into our scanning lab.

By Willliam B. Ghezzi