Tuesday, May 31, 2011

Photo Banner

A few weeks ago I was contacted for information regarding an item shown in the photo banner of our department home page. The question was a surprising one but it made me think about the photos in the banner, the rationale behind them and the sometimes subliminal messages I am sending.

Looking from left to right there are six photos (actually nine but the last three are generic images of the Library) and each represents an activity or important relationship with other departments in the Library.

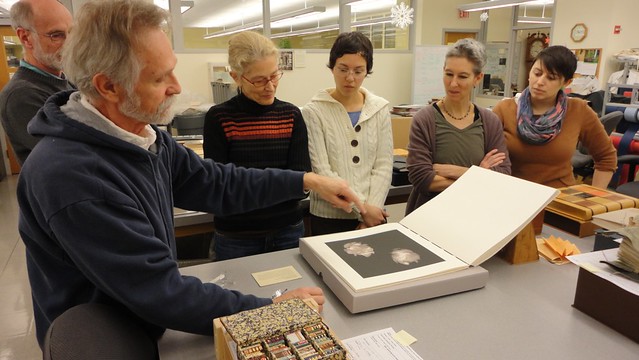
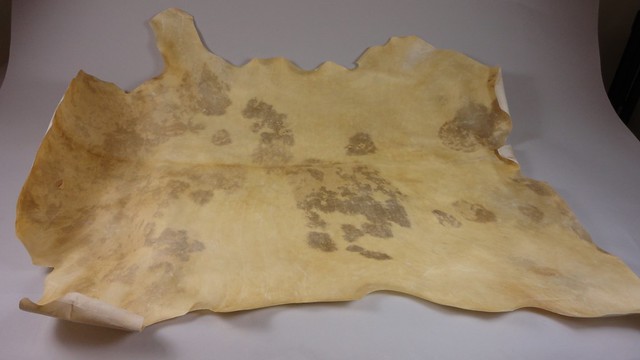
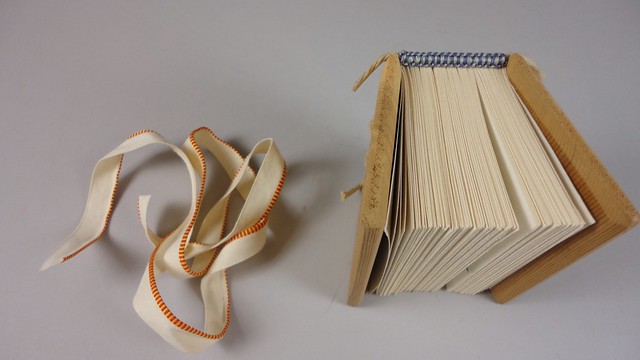
1. Digital conversion & digital preservation: A leaf from the Brut Chronicle being scanned. Preservation Services staff have worked hard to raise awareness of the need for pre & post digitization conservation. The Brut was taken apart for cleaning and rebinding, and in the middle of that treatment it was scanned. Preservation staff have also been responsible for the actual scanning of some materials and Preservation staff are collaborating across the organization to manage & preserve digital resources.

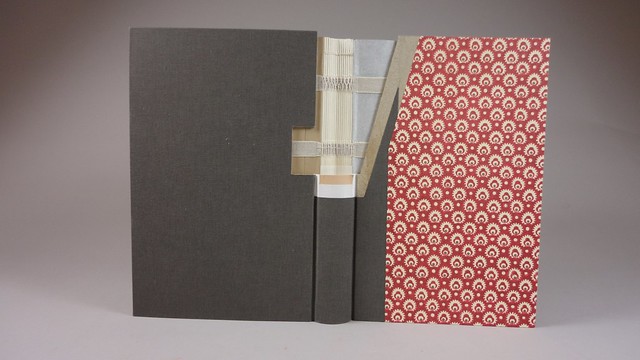
2. Conservation: Brushes symbolize book and paper conservation.

3. Non-book preservation: Our department is responsible for ALL of the Library's resources. This staged photo for a film preservation presentation is a graphic reminder of how NOT to handle film. This image is found on the slide show of our blog and is one of my favorites, the title of the film being, "Why I came to Dartmouth".

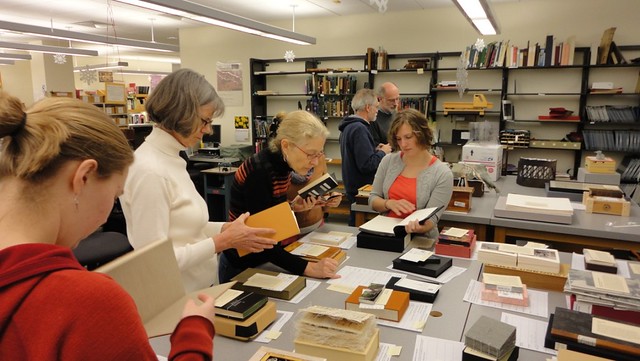
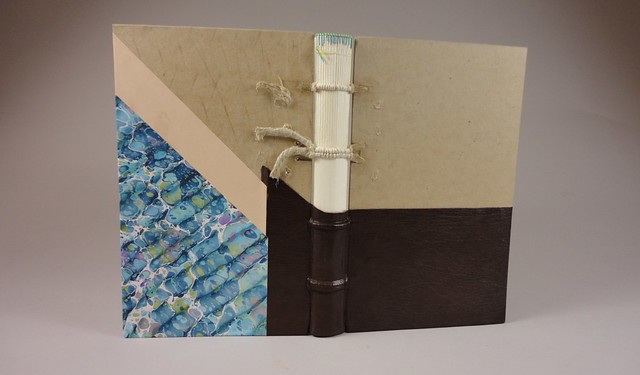
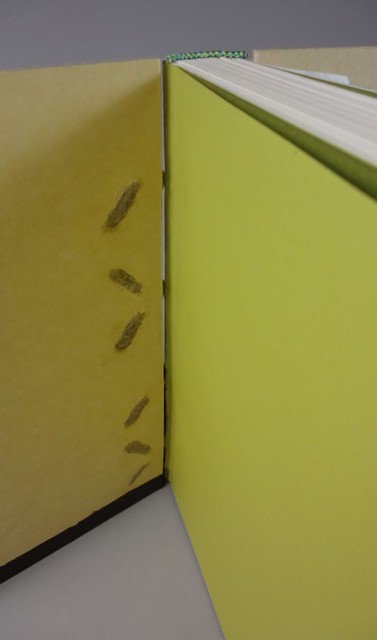
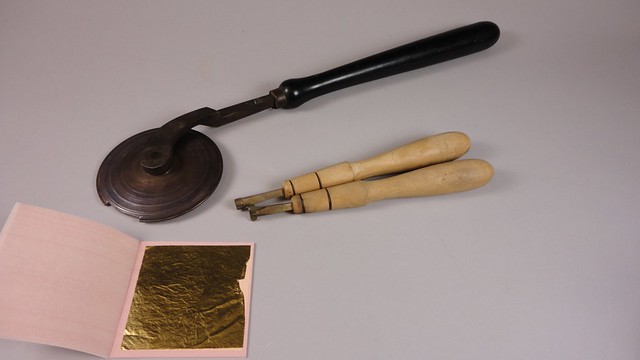
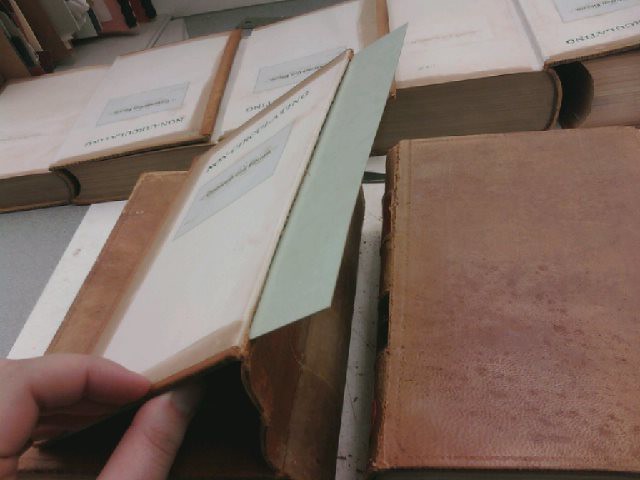
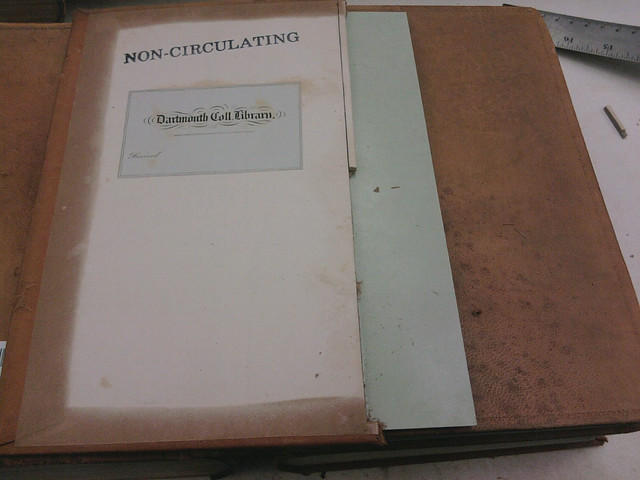
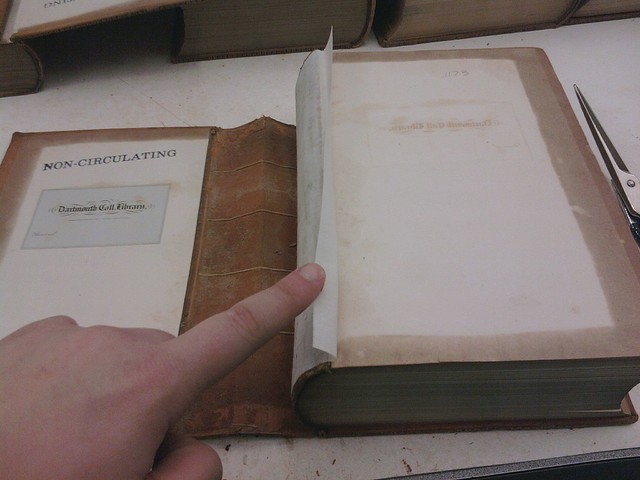
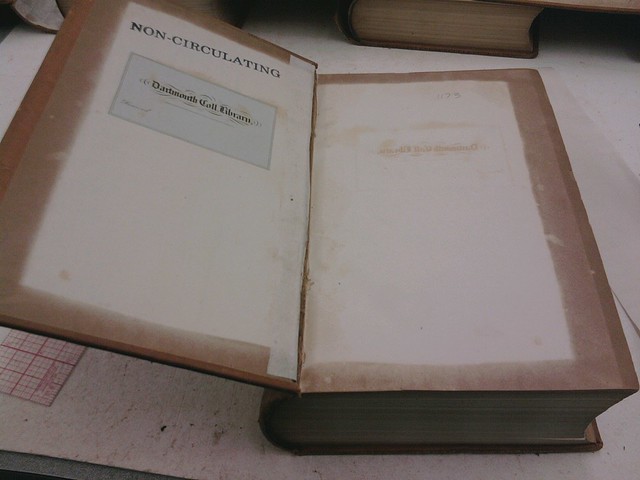
4. Conservation documentation: Each day Preservation staff repair books from the circulating collections and use their considerable expertise to repair items from the Rauner Special Collections Library. We typically document before and after treatments for items from that collection. This was also the photo that generated the question -- where to obtain the color bar.

5. New Book Processing: Preservation Services is reponsible for attaching book plates, call number labels, and security strips in all newly received items for the collection. The "hand model" is Maxine Cameron, who was a key member of the preservation team up until her retirement in 2010.

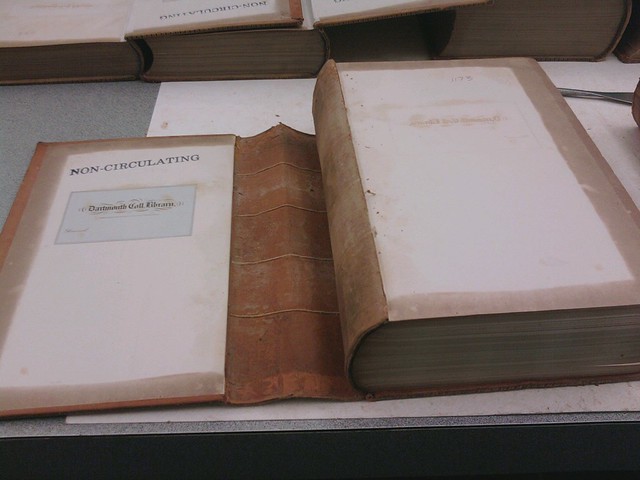
6. Circulation: The reason for our being. Access and preservation go hand in hand.

Written by Barb Sagraves

Tuesday, May 24, 2011

Conservation Road Show

On April 7th, 2011, I gave a brief presentation on the history of book structure and materials, to Joy Kenseth’s “Book as Art: Renaissance and Baroque Illustrated Books at Dartmouth”. I find these opportunities a great source of enjoyment and a chance to educate the students in something they might never have contemplated. In fact this is how I came to be in the field. As a student at the University of Cincinnati, Gabrielle Fox, the then conservator there, came and gave a talk to our “History of Illumination” class. I was hooked and have never looked back. I’ve come full circle so it seems.

Below are images of the items I brought to the class to demonstrate the various steps and materials used in book construction.


A sewing frame with signatures to illustrate the foundation of the sewing structure.


This is a goat skin of mine which makes a regular appearance to illustrate the direct derivative of the parchment into a book covering material. The dark spots are the blood vessels which remain as a result of how the skin was prepared.


In Preservation Services, we have two cut away models that were executed by Stephanie Wolff. The two photos above show one model that features sewing on cords with the lacing pattern into the boards, along with hand sewn German style headbands.

Below the other model illustrates the case binding, with both linked and simple sewing on tapes.

These models have been extremely helpful in teaching book construction and are consistently being used for tours and talks. I highly recommend that time be taken to create such cutaways, not only will you have illustrated samples of book structure but making them will exercise the skill of the binder.


Gold leaf and finishing tools allow for the exquisite decoration of bindings.


I find it so interesting that the headband has remained a component of the book. In the era of wooden boards and the need for a serious connection between them and the text block, it made perfect sense to have the extra cord attachment. However, as it stands today, it’s purely a fashion accessory, having no structural or intrinsic value whatsoever. I have no theory as to why it has remained, but only in that it adds a decorative element to our literary companions.


And to the state of book construction today, the sample above shows how the book case is fabricated separate from the text block, a quicker and more efficient but less durable construction from the days of past.
I am hoping that this collaboration between the faculty and conservation staff will develop into a more formal dynamic and be part of the classroom experience on a more regular basis.

Written by Deborah Howe

Tuesday, May 17, 2011

Digital Preservation Series, Part 3 - There Are Solutions to This Problem

There are many methods being used to mitigate the digital preservation threats I mentioned in my last post. I’m going to talk about some of them here, but the information in this post isn’t comprehensive…it’s just a sample of the actions we’re taking at Dartmouth College Library to preserve our digital collections, along with ideas about similar actions that can be taken to preserve personal files.

File Formats
Since the threat of obsolescence is always a concern, one of the first digital preservation strategies is to create files in preservation-friendly formats, or if we receive them in other formats, to convert them whenever possible. What makes a file format preservation-friendly? The most important characteristics of a file format are that it:

  • is a non-proprietary, open standard format, meaning that all the technical information about the format is published and maintained by a standards organization
  • is uncompressed or, if that isn’t possible, uses lossless compression
  • is commonly used (and thus more likely to be supported and documented)
  • allows embedded metadata, when possible
  • works with a wide variety of hardware and software configurations

Examples of file formats we prefer include XML for text and TIFF or JPEG2000 for images.

For personal digital materials, consider using file formats such as PNG and JPEG for images, PDF for text, and OpenDocument formats for office-related documents such as formatted text, charts, and presentations. See the Library of Congress Sustainability of Digital Formats page for more information on file formats.

Metadata
We also add metadata to our digital files, which ensures that we will be able to retrieve the information when we want it, and that we will know how to use it in the future. This metadata takes many forms, but some of the most vital pieces we include are:

  • What the content and context of the object is, such as the title, author, date of creation, and information about the source material if the item was digitized from an analog object such as a book (referred to as descriptive metadata)
  • Information about how the object was created, such as what file format it is and what software was used to create it (known as technical metadata)
  • How the object relates to other digital objects, for example, how a set of images should be ordered to correctly form the sequential pages of a book (structural metadata)
  • Who holds copyright for the object and how the object may be legally used (aptly named rights metadata)
  • And then there’s a category of information that includes results from validation (see preservation management activities below), the chain of custody of the digital object (so we know it hasn’t been altered, or if it has been altered, who did it and why), and identification numbers for the object that tell external systems (such as an online catalog) what the object is. This information is sometimes referred to as administrative or preservation metadata, although all of the metadata in this list is important for preservation!

When creating metadata, we always use standardized formats and terminology so that software developers can write programs that can interact with the digital objects based on a common language. Examples of standards we follow include the PREMIS and METS schemas, and the XML format.

Keep in mind that metadata use isn’t limited to library collections! You can add metadata to many of your personal digital materials. A file name, for example, is a type of metadata; if used correctly, the file name can provide a lot of information about the file without even opening it. It can often tell you the name or content description, the date it was created or edited, and the extension tells you what the file format is. But many files, particularly images, can also be given tags that contain some of this information as well. When tagging photographs, important things to include might be the date and location the picture was taken, who took the picture, and who or what is in the picture. Most cameras also embed some valuable technical information, such as the type of camera, color scheme, and other specifications about the image. Newer digital cameras can even embed the date, time, and location metadata if they are set up to do so.

There are so many digital preservation actions that I’m going to have to continue them in another post. Next time, I’ll talk about storage methods and ongoing maintenance activities that are necessary to keep digital resources from degrading. Come back soon for more information!

Written by Helen Bailey

Tuesday, May 10, 2011

A Chip off the Shoulder

Well another month has gone by, and another batch of the volumes from the U.S. Congressional Serial Set has returned from its journey to be digitized by Readex. The majority of the 65 or so volumes that return at a time only need a little sprucing because Readex takes such good care of them. But every once and a while one of these little guys needs some extra love before he's ready to hit the shelves and face the lime light that is Dartmouth College Library Patrons.

This particular volume returned to me with its back board completely fine, but its front board and spine piece detached entirely.


A pretty clean separation to be honest. The fact that it was still attached firmly to the back board was a good sign too! At face value this repair seems very run of the mill ordinary. Until we look a little closer...

The shoulder of this particular Serial Set volume is rather high and thus the front board and joint don't have a lot of room to move around. This is very counter intuitive and probably the reason why there was such a clean popped off cover. With the guidance of the lovely Collections Conservator, Deborah Howe, she showed me a very sneaky and slick way of giving this joint some space to breathe and actually function the way it ought to.

Now what is kind of amazing about this job is that sometimes it feels like I'm a surgeon in training and operating on these books. I think you'll understand when I begin to explain how we maneuvered this tight joint. First, with a paper spatula, I created a space between the leather and the board right on the edge of the joint, about an inch or so in, with enough room to slide in this light green, very condensed board.


It's a little hard to see, but that green board is actually inside the book between the leather and front board. The purpose of this is to give support near the very weak spine piece, and to offer a surface that my blade will not cut through when I make an incision.

This next part is a little scary for those of you with tender hearts about books, but I assure you I'm a trained professional and sometimes you have to crack a few eggs. With the support board in place, and another book to create a saw horse-like set up, I begin cutting very lightly approximately 1/8" from the edge of the board. Since Davey board is so thick and this board is very old and therefore quite solid, this process takes several minutes. Not to mention of course, even though the support board is there, I need to be very careful not to slice through it, damaging the spine.


You can see the pieces that have been removed already, as well as what I have left to remove. Note that the incision does not go all the way to the edge of the board. It is important not to cut to the head and tail of the book, this would create more damage.

When the incision is complete, I remove the support board and let the front board and spine relax a bit. Next I attach a Japanese Tissue liner that is the width of the spine and extends on one side about a half inch. This liner will add support to the text block as well as be a very strong anchor for the front board.

Last but not least, I flip the front board and spine back up on to the text block. Apply some glue and let it dry open so that the book has a nice tight hinge, but not too tight!

Voila! Good as new! This volume is all set and ready to return to its booky-brethren.

Written by Beth Hetland

Monday, May 9, 2011

Preservation Week Wrap-Up

Beautiful display of Preservation Services examples
Elizabeth Rideout answers questionsAnother National Preservation Week has come and gone! I hope you had an opportunity to benefit from our tips or attended the “Protect Your Treasures” event. If you missed it we had a great turnout: questions were answered, examples were shown, and many, many conservation supply catalogs were handed out.


We had experts to answer questions about photographs, digital objects, textiles, and books & paper. This photo shows a few of the items on display at the Books & Paper table. Notice the “Collections Care” catalog published by Gaylord. They very generously sent two-dozen copies along with their supply catalog; thanks also to University Products for their catalogs.

Special thanks goes to Helen Bailey, Stephanie Wolff, Deborah Howe, Beth Hetland, Elizabeth Rideout, and Margaret Spicer for making “Protect Your Treasures” a success.

The next Preservation Week is April 22-29, so mark your calendar!

Written by Barb Sagraves

Tuesday, May 3, 2011

End of a Long Journey:

The Dismantling of the Guild of Book Workers "Marking Time" Exhibit.


On March 22nd, 2011 a group of volunteers assembled at the Library to dismantle the “Marking Time” exhibit that had been on display in Baker Berry Library since November of 2010.


Amongst the group, was Rutherford Witthus, one of the exhibitors. His book, Matan, Williams, Witten and Nagel, Crumpling a Thin Sheet, 2001, utilized the controlled spontaneity promoted by John Cage to produce crumpled pages. These are included in his book as well as beautiful printed scans of them.


It was a delight to have him here as we took a moment to have show and tell and he was able to illustrate how the pages were manipulated and handled.


For more information on Rutherford’s work visit his website.


After the show and tell and putting all the books back in their boxes, the team went to work with bubble wrap and packing material to get the books ready for shipping. Here students from North Bennet Street School busily match books with the right size shipping container and make sure the correct address is on the right box!


Elizabeth Rideout inspects the packages to make sure they are well sealed and RTG (ready to go).


McKey, loading the boxes onto trucks headed to the mail room for UPS pick up. It felt like an old friend was leaving after a wonderful visit. I hope all the binders were happy to finally get their books back.

Special Thanks to:
Linda Lemke, Rutherford Whittus, Stephan Stefanko, McKey Berkman, Arini Esarey, Erin Fletcher, Celine Lombardi, Anna Shepard. And most of all to the wonderful, thorough, and outstanding head of Shipping & Receiving, Jim Guay, without whom we would be at a complete loss.

Written by Deborah Howe